PNG to WebP: Optimizing Images for the Web
PNG to WebP: Optimizing Images for the Web
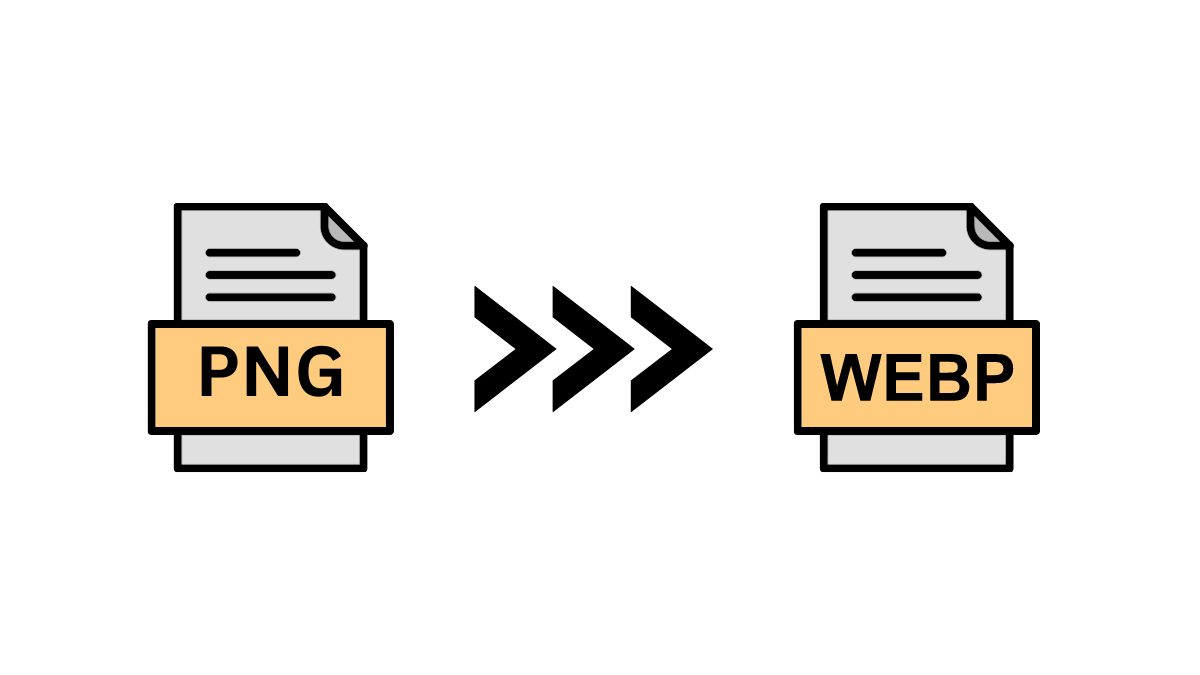
In today’s fast-paced digital landscape, website performance is a critical factor that directly impacts user experience, search engine rankings, and overall success. One of the key elements affecting website speed is image optimization. Enter WebP, a modern image format developed by Google specifically for the web. In this article, we’ll explore what WebP is, why it matters, and how to convert PNG images to WebP for optimal web performance.

What Is WebP?
WebP is an image format designed to strike a balance between image quality and file size. Here’s why it stands out:
-
Smaller File Sizes: WebP files are significantly smaller than their PNG or JPEG counterparts. This reduction in size translates to faster page loading times, especially crucial for mobile users.
-
Lossless and Lossy Compression: WebP supports both lossless and lossy compression. You can choose the level of compression based on your specific needs. Lossless WebP retains image quality while reducing file size, while lossy WebP sacrifices some quality for even smaller files.
-
Alpha Transparency: WebP supports alpha channel transparency, making it ideal for images with complex backgrounds or soft edges. Whether it’s a logo with a transparent background or a product image with soft shadows, WebP handles it seamlessly.
Converting PNG to WebP
Using Online Tools
-
Online Converters:
- our website offer free PNG-to-WebP conversion. Upload your PNG image, select the WebP format, and download the optimized file.
- These tools are user-friendly and require no technical expertise.
-
Image Editors:
- If you’re already using image editing software like Adobe Photoshop or GIMP, you can export images directly in WebP format.
- Look for the “Save As” or “Export” options, and choose WebP as the output format.
Command Line (for Advanced Users)
-
Install cwebp:
- If you’re comfortable with the command line, install the
cwebptool (part of the WebP package). - You can find installation instructions on the official WebP website.
- If you’re comfortable with the command line, install the
-
Convert PNG to WebP:
- Open your terminal and navigate to the folder containing your PNG image.
- Run the following command:
Replace
cwebp input.png -o output.webpinput.pngwith your PNG file name andoutput.webpwith your desired WebP output file name.
Why Use WebP?
-
Faster Page Loading: Smaller file sizes mean quicker load times, especially on mobile devices with limited bandwidth.
-
Improved SEO: Google considers page speed as a ranking factor. Optimizing images with WebP can positively impact your search engine rankings.
-
Better User Experience: Users appreciate fast-loading pages. WebP ensures a smoother browsing experience.
Conclusion
As web developers and designers, embracing WebP is essential for creating efficient, high-performing websites. By converting PNG images to WebP, you’ll enhance your site’s speed, reduce bounce rates, and keep users engaged. So, optimize those images and make your website a lean, mean, loading machine! 🚀🖼️


